
~ 5 minute read
1. Pre-printing strokes l − ○ + / □ \ × Δ
Prior to printing letters, children should know how to draw these shapes. Typically, around two years of age, children will develop the vertical line. By six years of age, most children are able to draw all of the shapes. Usually, it is not until a child can consistently copy a triangle that they will have success with learning to print all of their letters. Practice these strokes with your child to develop a stronger foundation for letter formations!
2. Trunk strength and shoulder stability
In order to develop the finer movements our hands require for grasping and manipulating a pencil, a child must have the upper body strength and stability to facilitate such fine movements. This can develop naturally through play. Playgrounds are a great way to build strength! Climbing up slides and swinging across monkey bars are fun ways for growth! In addition, any pushing or pulling activities such as wagons or sleds, as well as any weight bearing activity such as animal walks (i.e. bear walk, crab walk) are effective ways to build strength and stability.
3. Fine motor skills
The thumb, index finger and middle finger are our ‘skilled fingers’. We want them to be as efficient and strong as possible to help achieve an efficient grasp and control our pencils on paper. Provide daily opportunities for fine motor and hand strengthening activities. Using household items such as clothespins and spray bottles can help develop strength in the fingers. Picking small items up and placing, them into containers (i.e. coins into a piggy bank; cheerios into a bowl) can help with fine motor development. Do a quick internet search for “Fine Motor Activities for Children” to learn more fun ways to develop this skill.
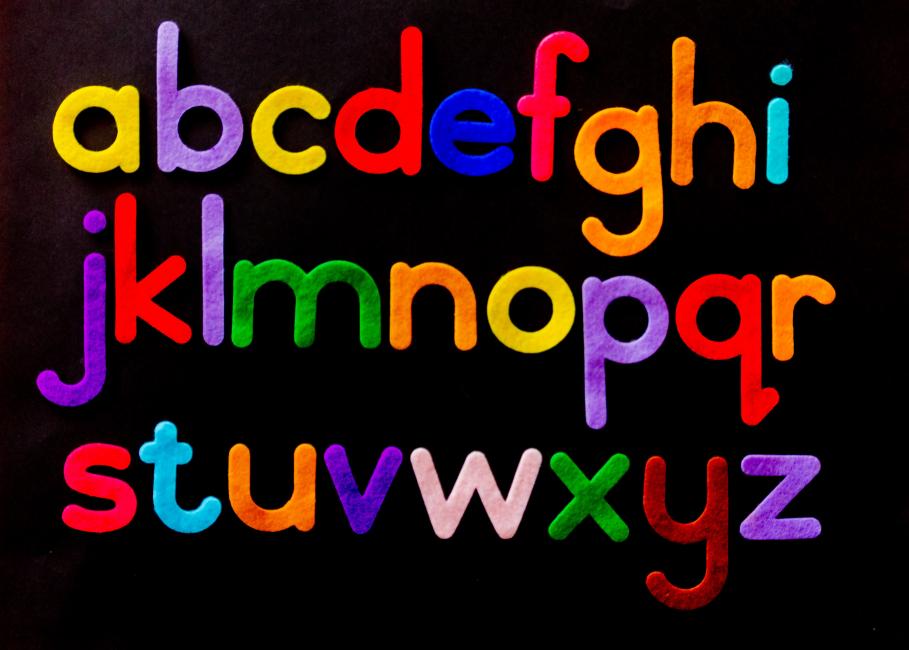
4. Capital letters
Capital letters are easier for kids to print! They all start at the top, they are all the same height and they all occupy the same vertical space. Capital letters all look different and are easier to identify. Several lower case letters look the same and it is a matter of where the ‘stick’ goes that defines the letter. i.e. “ a, b, d, g, q” are all circles with sticks! It is easy to place the stick on the wrong side or in the wrong place. “A B D G P Q” are all formed differently and have a very distinct look.
Introducing capitals first can build a strong foundation leading to more success with lower case printing. Lower case letters are then easier to learn because c o s v w x y z are the same as their capitals AND j k t p and u are similar to their capitals. After learning capital letters, children will be skilled with all capitals and nearly half of the lower case alphabet!
5. Letter play
You do not have to use a pencil to learn letters! In fact, letter play is a great way for a variety of ages and skill levels to learn the correct formations through fun and motivating multi-sensory activities. Once a child is ready to manipulate a pencil, they will already be familiar with how to form the letters correctly.
Letter play examples:
- Finger tracing over tactile letters (i.e. sand paper letters)
- Build letters on mats with playdough
- Draw letters in the air
- Draw letters in sensory bins
- Wet bins: pudding, whip cream, yogurt
- Dry bins: salt, beans, pasta
6. Pencil grasp
A great strategy to help develop efficient grasps is to use short 1-2 inch writing tools. Break your crayons and cut (or sharpen down) your pencils and pencil crayons! If a child does not have the option to hold the writing tool with the whole hand, it will force them to use their fingers and help facilitate development of an efficient grasp.
7. Printing on lines
There are many types of lined paper available for printing. Some can be too complex and/or visually confusing to children. Starting with a double line can build a good foundation to transition successfully to a variety of styles. For more details on the double line please check out this link from Learning without Tears https://www.lwtears.com/programs/double-lines

8. Spacing
Children have to learn proper spacing between letters and between words. Spaghetti and meatballs is a fun way to teach this concept. Spaghetti spaces between letters and meatball spaces between words. Using props adds some multisensory learning to this concept and makes it more fun! For the noodles, you can use dry or cooked noodles or Wikki Stix. For the meatballs, you can scrunch up a small piece of paper, Wikki Stix or a pipe cleaner into a small ball.
If a child continues to have difficulty with spacing concepts, try using boxes to print in. One letter per box and one empty box between words.
|
T |
h |
e |
|
c |
a |
t |
|
|
|
9. Consistency and practice
Learning or re-learning to print takes time and practice. Try to be consistent with how you teach your child. For example, using the same language and drawing the letter the same way each time you teach it. Become familiar with proper stroke sequences and model the letter to your child. Your child can imitate you and draw their own letter onto their paper.
Should you wish to complete printing practice with your child, investing in a printing program may be beneficial to you. Most programs have everything readily available and guides to help you teach. For example, the Handwriting without Tears printing books from Learning without Tears.
10. See an Occupational Therapist (OT)
OTs are skilled healthcare professionals that can assess your child’s printing abilities. If you feel your child may have challenges in this area and are unsure what to do, contact an OT. They can help determine your child’s strengths and weaknesses and provide recommendations to help develop the skills required to become successful with written communication.

About Taunia Clouthier
Taunia Clouthier is an Occupational Therapist who brings 10 years of experience working within the School Health Support OT Services, where she assumes a consultative role in supporting children, parents and staff within the school environment. The skills and knowledge that she has gained over the years has inspired her to create FUNctional Therapy in 2018, a company in which she can further share her knowledge and passions through direct services and workshops. She is very passionate about providing education and believes it is one of the keys to successful growth and development in children.
References
Beery K.E. & Beery N.A. (2010). The Beery-Buktenica Developmental Test of Visual-Motor Integration Sixth Edition Administration, Scoring and Teaching Manual. 30-47
Handwriting Without Tears. (2018). Get Set For School. Readiness & Writing Pre-K Teacher’s Guide
DISCLAIMER: This document reflects the views of the author. It is Autism Ontario’s intent to inform and educate. Every situation is unique and while we hope this information is useful, it should be used in the context of broader considerations for each person. Please contact Autism Ontario at info@autismontario.com or 416-246-9592 for permission to reproduce this material for any purpose other than personal use. © 2021 Autism Ontario 416-246-9592 www.autismontario.com